So you have purchased a new track at Your Ghost Production and would like to create a remix or add a few extra elements to your song?
Learn How to Import WAV Files in Studio One
Before you begin, you have to gather some information about your track like BPM, Sample Rate, Bit Depth,…
If you purchased the track from our platform, the BPM is visible on the track’s page. In other cases, you could use software like Mixedinkey to detect the tempo and key of your song.
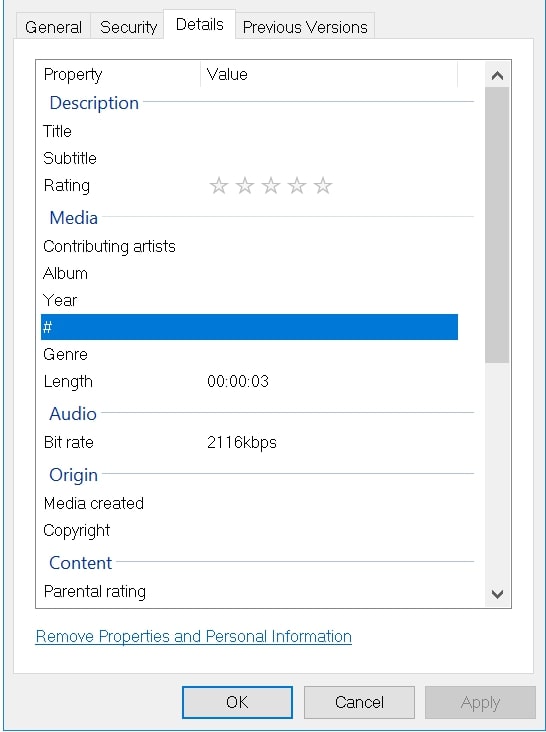
On Windows | Right click your wav file(s) -> Select Properties -> Select Details ->

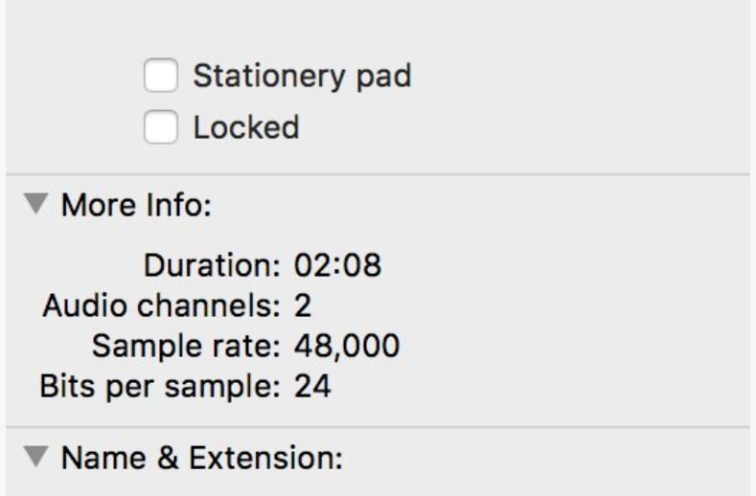
On Mac | Right click your wav file(s) -> Select Get Info

Start by creating the empty project file
Firstly open Studio One and create a new project file by pressing “Create New Song.” You can enter the name of your song in the Song Title field.
Now insert correct Sample Rate + Resolution data (bits per sample) of your files to create a new project.
Once your new empty project has loaded up, change the BPM of the project to the BPM of your stems.
Importing your stems in Studio One
There are a couple of ways to import your Wav files into Studio One. First way is to import them directly within Studio One.
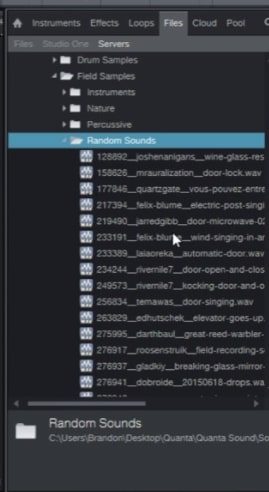
On the right side of your Studio One interface, you will notice a browser. Inside this browser you can search your entire computer and import files by drag and drop.
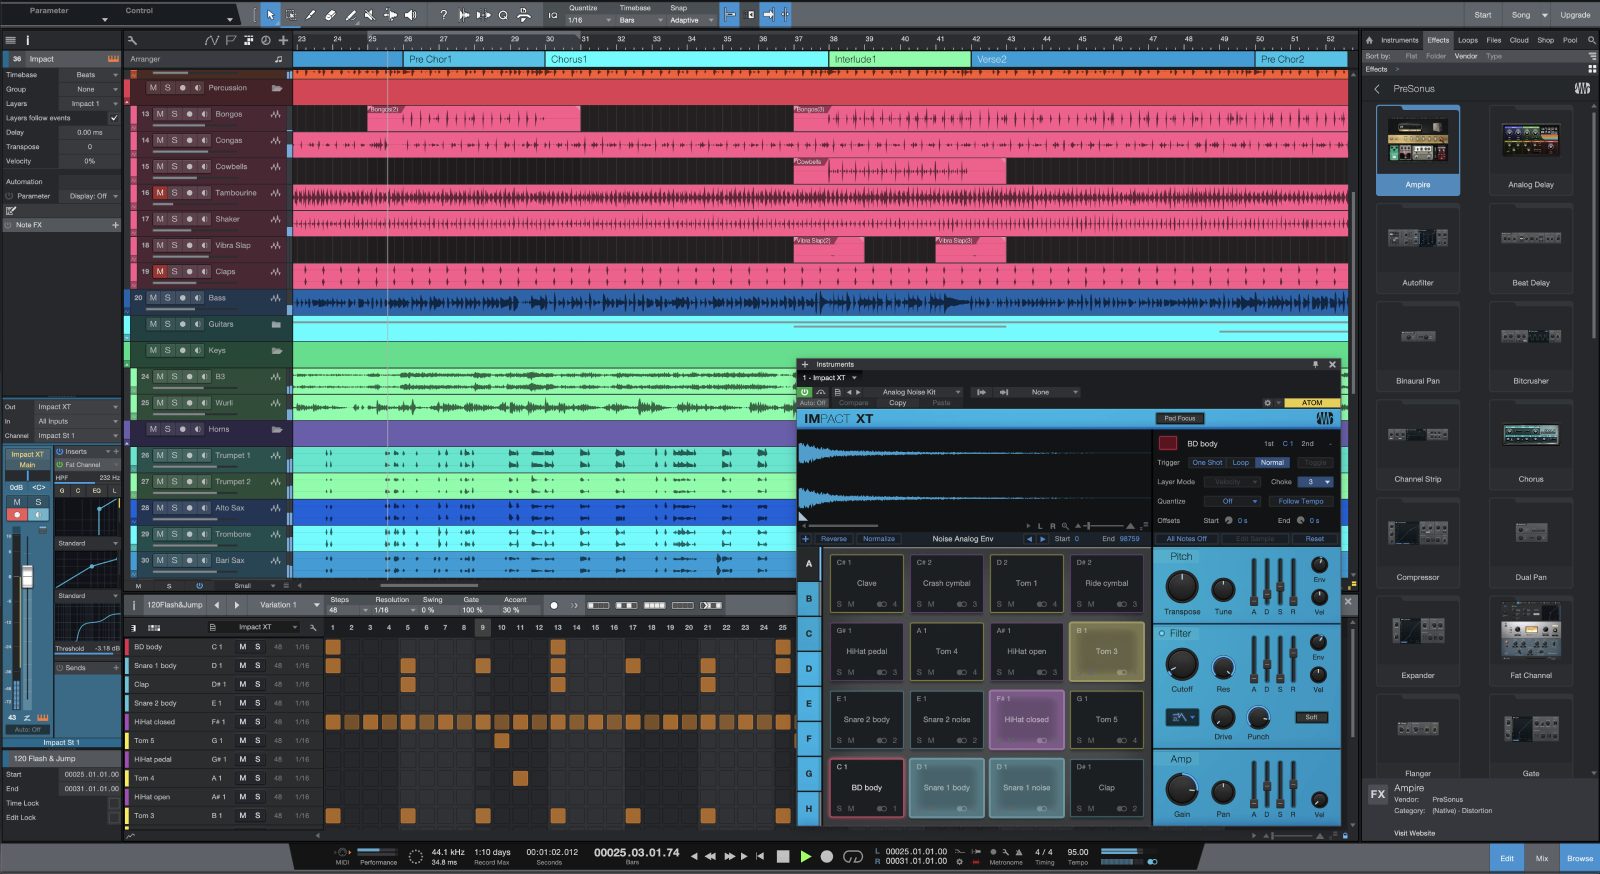
Another way is to open your Finder or Windows Explorer, select your WAV files (you can select multiple files at the same time), and drag and drop them in Studio One’s Playlist.


Comments
This post currently has no comments.